An abridged version of this series appears in the 2Q 2015 cover story. Click here to read Part I.


Part II: Bringing the Beach In
By Amanda Lee, OD
In the first installment of our do-it-yourself-optical (DIYO), we set out to update our dispensary. We had decided to try to reuse or repurpose what we could. Here is our approach.
- Find your inspiration.
- Sketch a plan.
- Calculate costs of materials based on the plan and your measurements.
- Buy the materials you need to complete the project.
- Buy, borrow, or rent the tools needed to complete the job.
- Get to work.
Drawing on the local beach scene we turned to antique shops, flea markets, discount stores and traditional décor stores in the Myrtle Beach area. We found various items to fuel our theme, bought a few of them and kept thumbing through old pages of Coastal Magazine to make sure we were on the same page of our mental design. We also spent some time on various industry websites that make/sell dispensary items, including frame boards.
We wanted to incorporate wood into the background frame board walls, reminiscent of the woodwork found inside of a sailboat or yacht. We then measured our space and calculated the approximate square footage of materials we needed. We needed to replace the frame boards, the acrylic rods, add some shelving and create a more beach-friendly/nautical theme. We drew a rough sketch to make sure we’re calculating the material needs correctly.
Hello, Home Depot and Lowe’s


We headed to Lowe’s first because it’s closest to us, and we began looking around the store for the materials we need. In case you didn’t already know this, the items that are on sale are on the shelf end-caps of the stores. But, the really “hot-sale discounted items” are on the end-caps, in the back of the store, the ones specifically facing the back of the building, not the front or off of the main aisles. There you can find a treasure trove of special-ordered and returned items of various quantities. I know, like, you, I used to think it was the messy overstock that somehow didn’t fit in the mysterious storage area in the back of these enormous warehouse stores. Somehow, this stuff is the most reduced in price, is in small lots and is never-going-to-match your home needs, but as luck would have it, we struck gold. We found tricolored hardwood flooring in three special-order boxes. The price was roughly a cool $50 for each box, so we bought them. We had the background for our frame boards.


To maintain our beach-cottage theme, our next stop was West Marine, a store full of boating supplies and nautical accoutrements. We needed to replace the old acrylic rods that were mounted on the slat-boards. We kept the original acrylic clips to hold the eyeglass frames, but needed some sort of “rod-thingy” to clip them onto. We were willing to consider—and search for—an oar, perhaps, or a handle or even rope. Luckily, we found all three of those things at West Marine. The oar handle was too thick for the acrylic frame clips, but could perhaps be incorporated into the wall design. The next find was stainless steel handles that are meant to be attached to a boat’s stairwell leading to a berth below. Mounted against the wall, though, they’d only give us 2.5 inches of clearance—not enough to mount a frame with temples extended towards the wall. Also, being stainless steel, they cost roughly $12 per foot. Multiply that by the two-, three- and four-foot sections we’d need for our seven frame boards, and the cost escalated quickly. Rope is available in multiple types, and the clips fit on the largest diameter, but rope isn’t stiff enough to hold without mounting the ends and pulling the rope taught. We bought some cleats and figured out we could attach the rope to the cleats. We still needed to figure out how to attach the cleats to the frame board wall with at least six inches of clearance to the wall to accommodate the frame with the temples extended. Even so, we came away from our shopping spree with a $250 bill and lots of great ideas.


Next stop: Home Depot, where we puzzled through how we could separate the cleats from the frame board walls so that we can hang the rope. Cut lumber was simple, but it wouldn’t give the right look. Then we came across fence post caps for decking. These were a bit more decorative, but we wanted to dress them up with some stain and varnish. So we bought them, along with stain, varnish and brushes.
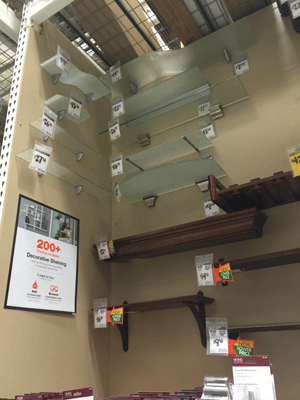
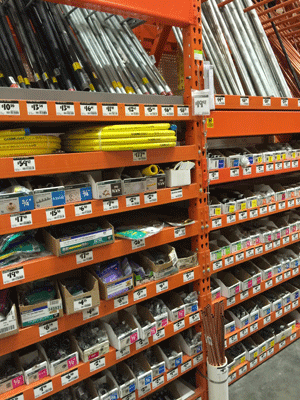
Next we looked at how we could recreate the look of the stainless steel boat handles at a less expensive price. In the plumbing department, we found galvanized piping with matching elbows and floor flanges—that would be mounted to the frame board walls. We decided some shelving would break up uniformity of numerous long rods—an aesthetic drawback from our old acrylic rods. We found various sizes and shapes of glass shelves and mounting kits. We referenced our sketch and figured that seven to 10 different shelves could be incorporated into our pencil sketch drawing. We bought these items and headed to the office to meld our materials and our design sketch together.


Next installment: Getting to Work


