An abridged version of this series appears in the 2Q 2015 cover story. Don’t miss The Inspiration (part one) or Bringing in the Beach (part two).
Part III: Getting to Work
By Amanda Lee, OD
Now that Tammy Tully, OD, and I had created our design on paper and shopped for the materials, it was time to get started. The to-do list sounded simple.
- Remove all items from the dispensary area that we don’t want to have dust, debris, glue, or any other mess on them.
- Build the new frame boards.
- Hang the new, galvanized pipe frame holders.
- Hang the new glass shelves.
- Clean up the mess.
- Clean the displays with proper wood, metal and glass cleaner.
- Place the frames and point of purchase items back into the new dispensary.
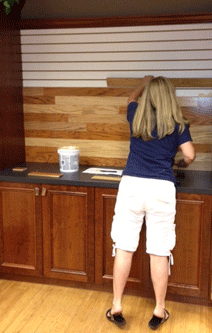
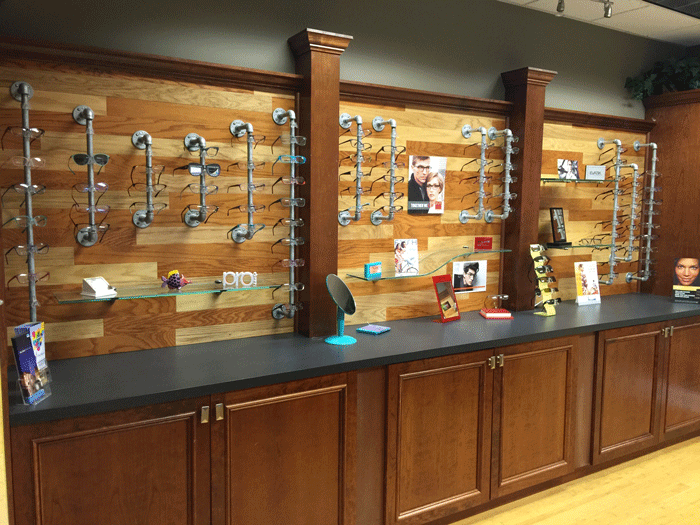
We laid the flooring down on the floor to mix the individual tricolored boards together so that we weren’t putting all three colors side by side. We intentionally tried to create a random pattern. Because the flooring is tongue and groove the pieces lay flat against the already existing slat-boards on the wall. We used floor glue and finishing nails on the ends to mount each piece to the slat board. On the ends of each frame board where we have subtle variations in length of board, we covered with quarter round and used finish nails to secure the ends. The new walls are strong, secure and gorgeous, if we do say so ourselves. We finished all seven-frame boards and now we have a new palate to create our retail frame holders and shelving design.
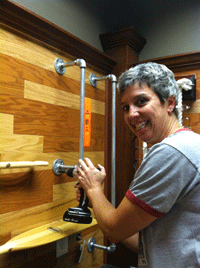
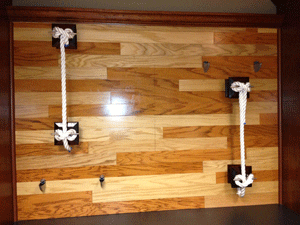
Onto the galvanized pipe, glass shelves, and the rope! Sounds a lot like the board game Clue (as in we needed to get get one fast)! We dove into the task at hand and began to layout our design using the simple sketches we created earlier. Following our sketch-template design, we use place the galvanized pipe onto to the wooden frame boards. It took longer than we thought because we had to clean the piping, the elbows, and the flanges to remove some of the grease and dirt that they come with when purchased. While I was cleaning, Dr. Tully stained, varnished and mounted the deck-end caps to the wooden frame boards. She then screwed the stainless steel cleats to the deck end-caps and wrapped the rope between the two cleats, pulling it taut so that it will withstand the weight of the acrylic clips as well as the eyeglass frames that will rest on the clips. Success! The idea worked, and we executed an inexpensive frame board mounting system that achieved our goal of a more nautical/beach cottage look.
Once the pipe is mounted, we then mounted the glass shelves. Waiting to do this last allowed us to make sure we had the right sized shelving for each position on the boards. It also meant a trip or two back to Home Depot to get exactly what we needed and return what we didn’t want. We found a rather unique shelf that has a bend in the middle, adding to our custom-look. We decided to go another step further and use the wooden oars that we found as small shelves on one frame board wall. They were tricky due to the fact that we had to drill custom mounting hardware into the handles so that they stuck out away from the wall the correct distance. Another custom-look was the skim-board we purchased at West Marine. We mounted small glass shelving to the skim-board and placed it on our frame board where the children’s frames are located. This gave a little whimsical touch to the beach theme in the kid’s section.
Eventually all the frame boards and our custom dispensary came together. In fact, one of the largest obstacles of the job was the cleanup. Once we cleaned up our work space and the dispensary, we cleaned the frame boards really well with wood-soap and washed the glass with denatured alcohol. After cleaning everything and vacuuming all the dust, we replaced the furniture, and began hanging the frames as well as the point-of-purchase items, mixing the two to give a more relaxed retail environment. It took the two of us working four full days in a row. We did the work around a holiday, so that we didn’t interrupt patient care. We finished at close to 11 p.m. on a Sunday night, weary but energized. We look at each other and nod, thinking “a job well done,” turn off the lights and exit, ready to see patients the following Monday morning.
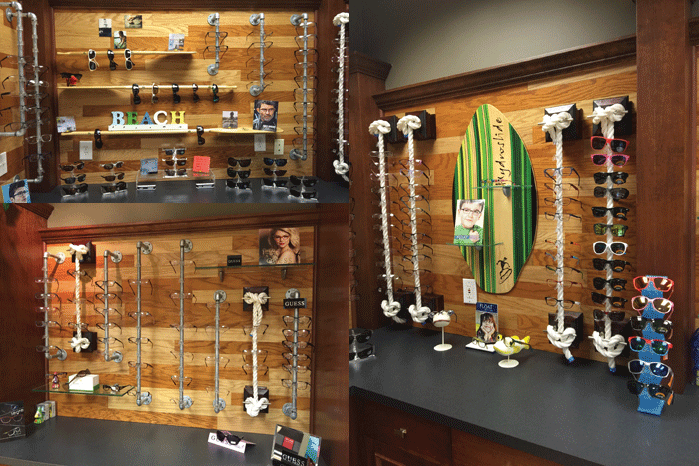
THE END RESULT:
While doing the entire job was an adventure for both of us, it taxed our skillset and broadened our abilities with the use of tools, equipment, and materials that we had only limited familiarity with prior to taking on the task. We even had some fun along the way. The best part was that we finished the project with a cost of materials at slightly more than $2,000, or about 10 percent what we estimate it would have cost us if we had employed professionals to remodel the dispensary.
Fast-forward to today, and our new dispensary has brought more returns that we could have imagined. While it’s hard to create a metric for our remodel, our optical sales have increased 40 percent over the past year, and the comments that our patients make regarding the changes have been extremely positive. It’s always fun to watch their faces as we say, “We did it ourselves!” The conversation always takes and unexpected turn after that, and while we’re talking about our DIYO as we stand in the dispensary, it’s easy to slip a frame on someone’s face and tell them how fabulous it looks on them!
SOME CRUCIAL TIPS:
|
UPCOMING PROJECTS:
- Remodel the waiting area and tie it into our optical area to make a more unified retail front office.
- Add beadboard to the office walls and repaint.
- Replace the floor tile in the office entry.
- Add beach-themed frame boards for sunwear that flank the front door.
- Add shelving unit(s) for ancillary care products, Cosmetic and Nutraceuticals.
- Spruce up the landscaping adding palms and flowers.

